DPI615 Intrinsically Safe Pressure Calibrator
Price on request
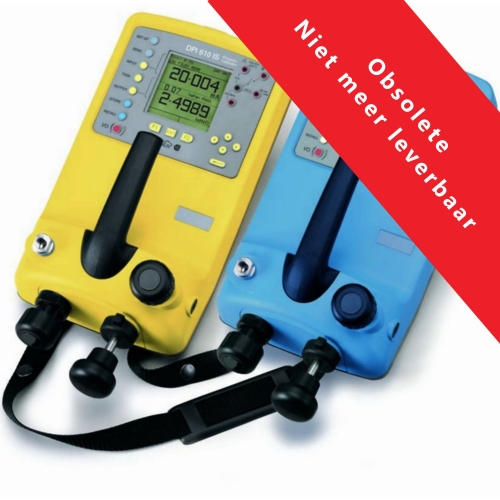
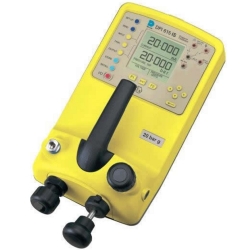
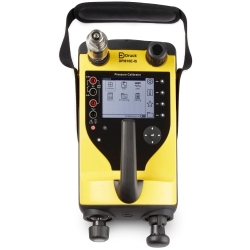
DPI 610 and DPI 615 are technically very advanced portable calibrators. These instruments have been one of the most popular pressure calibrators in the market for many years thanks to years of experience and developments of GE Druck.
Anderen kochten ook:
- Product description
- Extra information
- Downloads
-
DPI 610 and DPI 615 are technically very advanced portable calibrators. These instruments have been one of the most popular pressure calibrators in the market for many years thanks to years of experience and developments of GE Druck.
These calibrators have a rechargeable battery (not the IS versions) but can also be equipped with alkaline batteries. Generating pressure is done with the aid of the built-in hand pump and with the fine control you can adjust the desired pressure very accurately. You can also use the instrument mA and V to measure and output and thanks to the built-in 24V power supply you can supply transmitters outside the loop with the required power supply (this does not apply to the IS version). The main difference between the DPI 610 and DPI 615 is that the DPI 615 is a fully documented calibrator. For example, you can use the Intecal software to create calibration procedures and then send them to the DPI 615 for carrying out field calibrations. The information stored in the field can be later downloaded to the software and then printed out calibration certificates. In short, the DPI 610 and DPI 615 are still the most robust and powerful pressure calibrators in the market.Characteristics
A highly accurate and easy-to-use portable calibrator that helps you improve your data processing and work more efficiently. The DPI 610 and DPI 615 (with data storage and RS232 interface) reduce calibration time and prevent errors. The DPI 615 also offers the possibility of reporting and analysis of calibration data and pass / fail status. Calibration procedures can also be automatically downloaded from a PC so that you can automatically carry out predefined calibration and test routines with the DPI 615.
• 52 Measuring ranges from 2.5 mbar to 700 bar
• Accuracy up to 0.025% FS
• Integrated and combined pressure / vacuum pump
• 4 to 20 mA loop test function
• RS 232 interface and fully documented version
• Up to 11 external sensors per instrumentApplications
The DPI 610 is designed for ease of use and meets a wide range of applications including calibration, maintenance and commissioning.
With the intrinsically safe versions, certified to European and North American standards for use in hazardous environments, you can quickly take action in the event of breakdowns and emergencies because you do not need 'licensing' and gas detection equipment.
The double display shows both the Input and Output values ??in large clear figures. A unique handle provides a secure grip for on-site use complemented by a shoulder strap that is also designed to hang the instrument for hands-free work.
Any technician can use the DPI 610 without special training. By selecting the standard mode, the DPI 610 is configured to generate pressure and measure mA or V, with all non-essential buttons disabled. -
Pressure Range Pneumatic
DPI 610 PC IS
DPI 615 PC ISPneumatic
DPI 610 HC IS
DPI 615 HC ISRemot Option
(B1)Accuracy
% span±70 mbar G - 0.05 ±200 mbar G - G or D 0.025 ±350 mbar G or A - G, A or D 0.025 ±700 mbar G or A - G, A or D 0.025 2 bar (-1) G or A - G, A or D 0.025 3.5 bar (-1) G or A - G, A or D 0.025 7 bar (-1) G or A - G, A or D 0.025 10 bar (-1) G or A - G, A or D 0.025 20 bar (-1) G or A(1) - G, A or D 0.025 35 bar (-1) - - G, A or D 0.025 70 bar (-1) - - G or A 0.025 135 bar - SG or A 0.025 160 bar - SG or A - 0.025 200 bar - SG or A SG or A 0.025 350 bar - - SG or A(3) 0.025 400 bar - SG or A(2) - 0.025 700 bar - SG or A 0.025 - Values in ( ) indicate negative calibration for gauge and differential ranges
- A = Absolute, D, LD, VLD and ULD = Differential, G = Gauge, SG = Sealed Gauge
- (1), (2) and (3) refer to over pressure.
- Accuracy is defined as non-linearity, hysteresis and repeatability
Electrical Input Input
Range
Accuracy
Resolution
Remarks
Voltage*
±50 VDC
(±30 VDC IS version)
±0.05% reading
±0.004% FS
100 :V
Autoranging
>10 MΩ
Current*
±55 mA
±0.05% reading
±0.004% FS
0.001 mA
10 Ω, 50 V
Maximum
(30 V maximum IS version)
Temperature
-10°C to 40°C
±1°C
0.1°C
Local ambient
Switch
Open/closed
-
-
5 mA whetting (1 mA IS version)
*Temperature coefficient ±0.0075% reading/°C wrt 20°C
Electrical Output Output
Range
Accuracy
Resolution
Remarks
Voltage
±10 VDC
(Not IS version)
24VDC±0.1%
±5 %-
-Maximum load 10 mA
Maximum load 26 mACurrent*
0 to 24 mA
±0.05% reading
±0.1% FS
0.001 mA
-
*Temperature coefficient ±0.0075% reading/°C wrt 20°C
For IS version Ui = 30 V maximum, Ii = 100 mA maximum, Pi = 1 W maximum and Uo = 7.9 V maximum.
-
Documents:
Filename Upload date Size DPI 610 / 615 Pressure Calibrator Datasheet 2019.3.25 5.3 MB DPI 610 / 615 Pressure Calibrator Manual 2019.3.11 4.4 MB


